In this tutorial we’ll walk you through installing Plex Media Server on Ubuntu 18.04.
Plex is a streaming media server that lets you organize your video, music, and photo collections and stream them to all of your devices at any time and from anywhere.
Although this tutorial is written for Ubuntu 18.04 Bionic Beaver the same steps can be used for Debian and Ubuntu 16.04 Xenial Xerus.
Prerequisites
You’ll need to be logged in as a user with sudo access to be able to install packages on your Ubuntu system.
Install Plex Media Server
The easiest way to install and manage Plex Media Server on Ubuntu 18.04 is by using the Plex official repository. It requires no technical knowledge and it should not take you more than 20 minutes to install and configure the media server.
Follow the steps below to install the Plex Media Server on your Ubuntu system:
- Start by importing the repository’s GPG key using the following
curlcommand :curl https://downloads.plex.tv/plex-keys/PlexSign.key | sudo apt-key add -
Add the Plex APT repository to your system’s software repository list by issuing:
echo deb https://downloads.plex.tv/repo/deb public main | sudo tee /etc/apt/sources.list.d/plexmediaserver.listOnce the Plex repository is enabled, update the apt package list and install the latest version of the Plex Media Server with:
sudo apt install apt-transport-httpssudo apt updatesudo apt install plexmediaserver
To verify that the Plex service is running type:
sudo systemctl status plexmediaserverThe output should look something like this:
● plexmediaserver.service - Plex Media Server for Linux
Loaded: loaded (/lib/systemd/system/plexmediaserver.service; enabled; vendor preset: enabled)
Active: active (running) since Mon 2018-06-25 10:42:28 PDT; 35min ago
Process: 2544 ExecStartPre=/bin/sh -c /usr/bin/test -d "${PLEX_MEDIA_SERVER_APPLICATION_SUPPORT_DIR}" || /bin/mkdir -p "${PLEX_MEDIA_SERVER_APPLICATION_SUPPORT_DIR}" (code=exited, status=0/SUCCESS)
Main PID: 2556 (sh)
    Tasks: 56 (limit: 2321)
CGroup: /system.slice/plexmediaserver.service
Adjust the Firewall Rules
Now that you have Plex installed and running on your server you need to make sure your firewall is configured to allow traffic on Plex Media Server specific ports.
The following steps assume that you are using UFW to manage your firewall:
Open your text editor of choice and create the following UFW application profile:
[plexmediaserver]
title=Plex Media Server (Standard)
description=The Plex Media Server
ports=32400/tcp|3005/tcp|5353/udp|8324/tcp|32410:32414/udp

[plexmediaserver-dlna]
title=Plex Media Server (DLNA)
description=The Plex Media Server (additional DLNA capability only)
ports=1900/udp|32469/tcp

[plexmediaserver-all]
title=Plex Media Server (Standard + DLNA)
description=The Plex Media Server (with additional DLNA capability)
ports=32400/tcp|3005/tcp|5353/udp|8324/tcp|32410:32414/udp|1900/udp|32469/tcp
Save the file and update profiles list:
sudo ufw app update plexmediaserverApply the new firewall rules by typing:
sudo ufw allow plexmediaserver-allFinally check if the new firewall rules are applied successfully with:
sudo ufw status verboseStatus: active
Logging: on (low)
Default: deny (incoming), allow (outgoing), disabled (routed)
New profiles: skip
To Action From
-- ------ ----
22/tcp ALLOW IN Anywhere
32400/tcp (plexmediaserver-all) ALLOW IN Anywhere
3005/tcp (plexmediaserver-all) ALLOW IN Anywhere
5353/udp (plexmediaserver-all) ALLOW IN Anywhere
8324/tcp (plexmediaserver-all) ALLOW IN Anywhere
32410:32414/udp (plexmediaserver-all) ALLOW IN Anywhere
1900/udp (plexmediaserver-all) ALLOW IN Anywhere
32469/tcp (plexmediaserver-all) ALLOW IN Anywhere
Configure Plex Media Server
Before starting the Plex setup wizard let’s create the directories that will store the Plex media files:
sudo mkdir -p /opt/plexmedia/{movies,series}The Plex Media Server runs as the user plex which must have read and execute permissions to the media files and directories. To set the correct ownership run the following command.
sudo chown -R plex: /opt/plexmediaNow we can proceed with the server configuration. Open your browser, type http://YOUR_SERVER_IP:32400/web and you will be presented with the following screen:
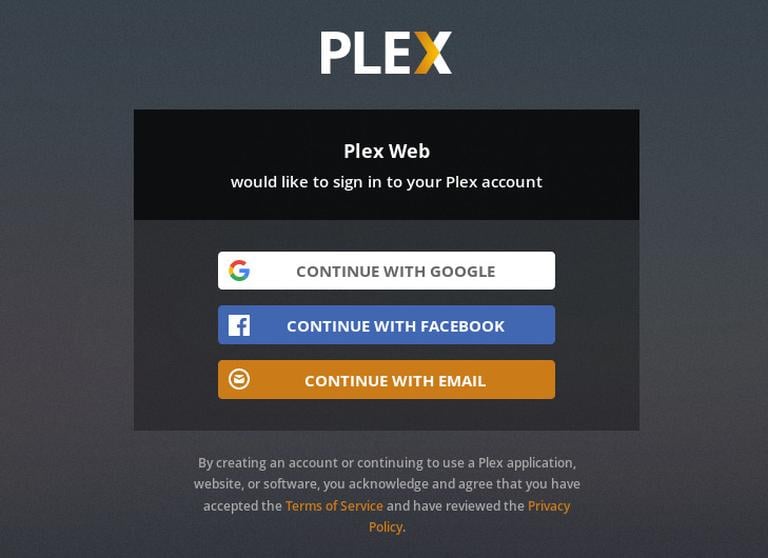
In order to use the Plex Media Server, you will need to create an account.
Press the Google, Facebook or Email button to create a free Plex account. If you want to access premium features you can purchase a Plex Pass plan.
Once you sign up you will be redirected to the page with information about how Plex works as shown below:

Click on the Got it button.
On the next screen enter your Plex server name, leave the Allow me to access my media outside my home box checked, and click Next.
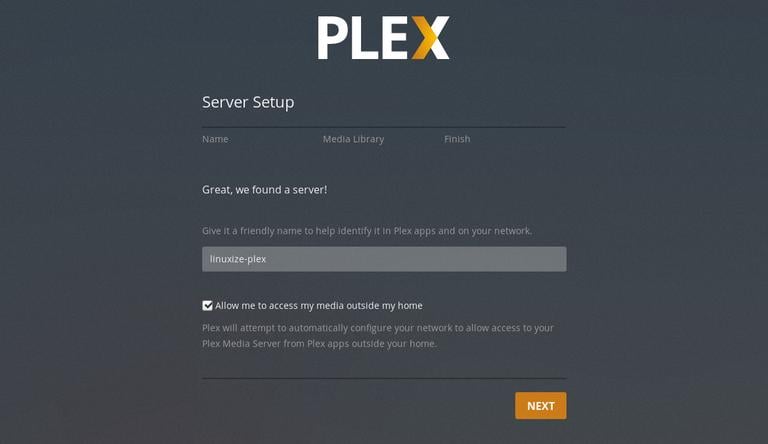
The next step is to add a media library. Click on the Add Library button.
When the popup window shows, select movies as library type and click Next.
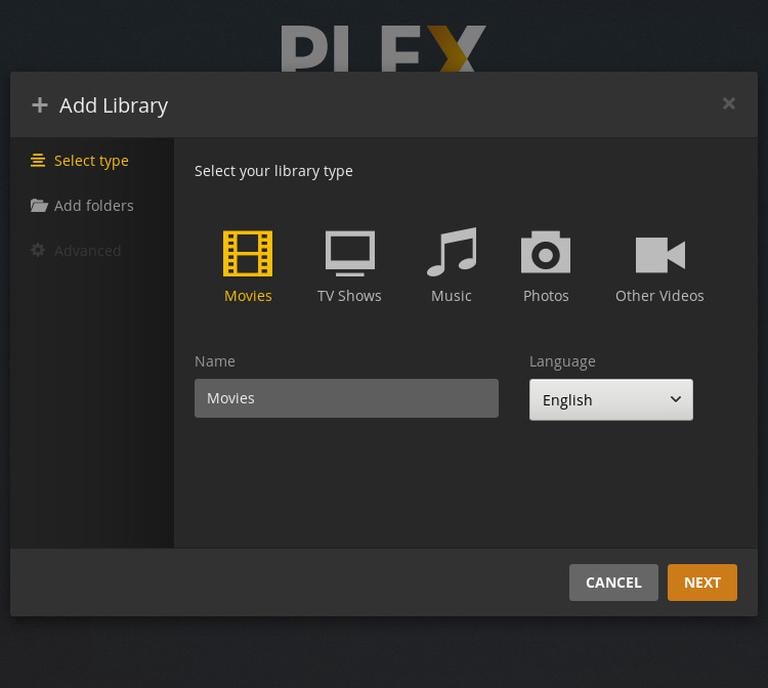
In the next step click on the Browse for media folder and add the path to the directory that will contain the Movies media files, in our case /opt/plexmedia/movies.
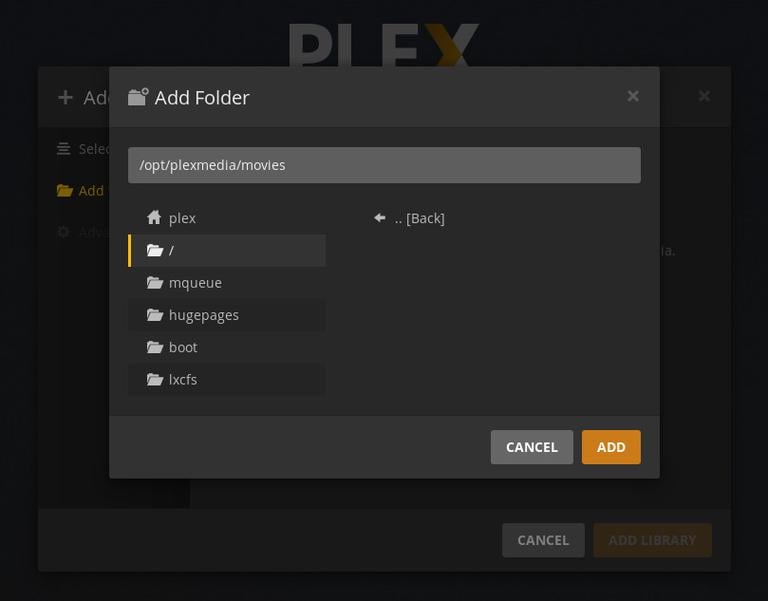
Click on the Add button and then on the Add Library.
You can add as many Libraries as you want.

Click Next, then Done and you will be redirected to the Plex web dashboard.
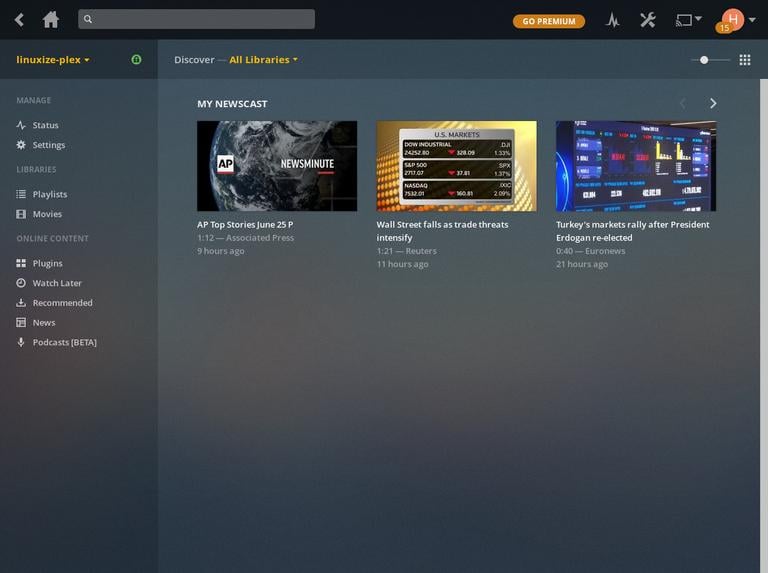
Now that you have completed the setup wizard, you can start exploring Plex options and all the things it can do.
Updating Plex Media Server
When a new version is released you can update the Plex Media Server package through your desktop standard Software Update tool or by running the following commands in your terminal:
sudo apt updatesudo apt upgrade
Conclusion
You have learned how to install Plex Media Server on your Ubuntu 18.04 machine and how to create a Media Library.
You can now install the Plex application on your Android, iPhone, Smart TV, Xbox, Roku or any other supported device. You can find a list of supported Apps & Devices on the Plex Downloads page or you can simply install the application from the device’s app store.
You should also check out the official Plex Quick-Start guide and Plex Documentation page.
